
Manage projects
A project groups diagrams, workspaces, members, provider defaults, policies, runs, and related activity under one ownership boundary.
- Typical time
- 5–10 minutes
- You need
- Project access
- Outcome
- A reviewed project list or update
Find a project
Section titled “Find a project”- Open Projects.
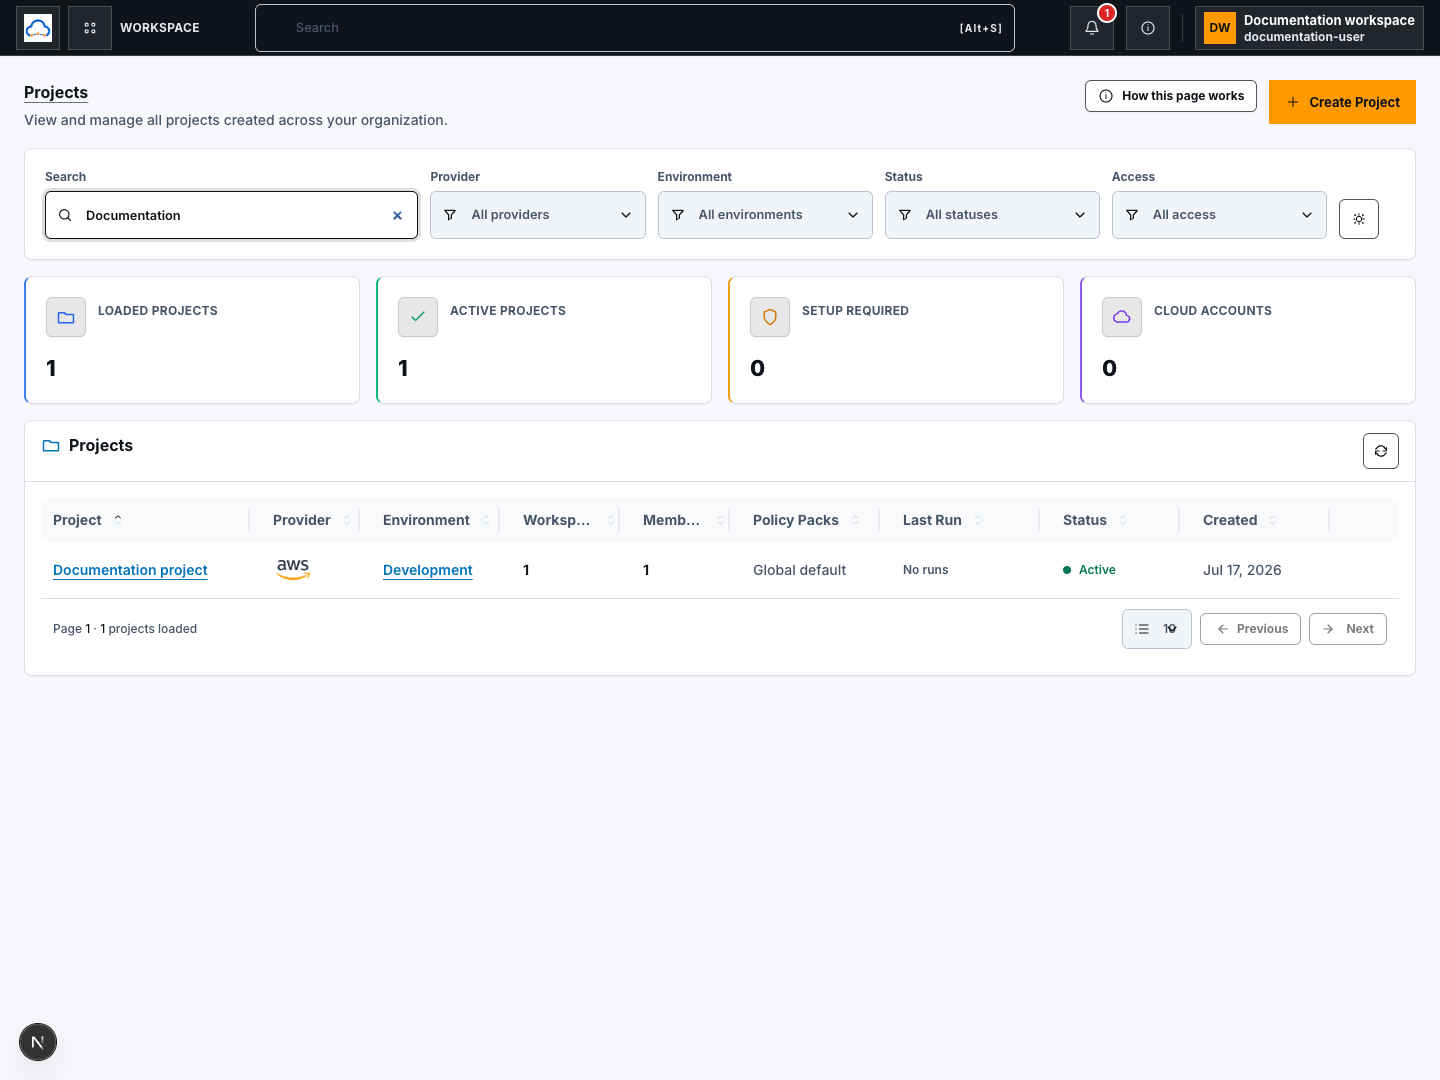
- Enter a name in Search.
- Narrow the page with Environment, Provider, Status, and Access.
- Choose Clear project filters to restore the unfiltered page.
- Use the page-size selector and Previous or Next to move through results.
- Choose Refresh projects to request the latest permitted page.
Search and filters refine the loaded list. Pagination and refresh request bounded backend pages; the cursor itself is never displayed.
Check your result
Section titled “Check your result”Every visible row matches the selected filters, and the pagination summary describes only the current bounded page.
Create or resume project setup
Section titled “Create or resume project setup”- Choose Create Project to start a new project.
- Complete the guided project details and review before creation.
- If an existing project has incomplete setup, open its actions and choose the available setup action rather than creating a duplicate.
- From project details, choose New Workspace or Create workspace to continue setup under that project.
Creating a project and workspace are backend mutations and require write permission. Follow Create your first project and Set up a workspace for their full review steps.
Open and inspect a project
Section titled “Open and inspect a project”- Choose Open on the row, or open the action menu and choose Open project.
- If the project has several workspaces, choose one in the workspace picker.
- ScrinCloud opens the saved destination for that workspace, such as Architecture Studio or the Terraform code editor.
- Choose View details to inspect provider, environment, members, workspaces, latest run, and project metadata without editing.
- In the details drawer, use Copy project ID only when a trusted support or integration workflow requires it.
- Choose View runs to open the project’s run history.
Opening a project, viewing details, viewing runs, choosing a workspace, and copying the ID are read or navigation actions. Copying puts the identifier on your local clipboard; treat it as tenant context even though it is not a secret.

Check your result
Section titled “Check your result”The drawer title and project metadata match the row you selected. Opening the project keeps you inside the same project and selected workspace.
Edit a project
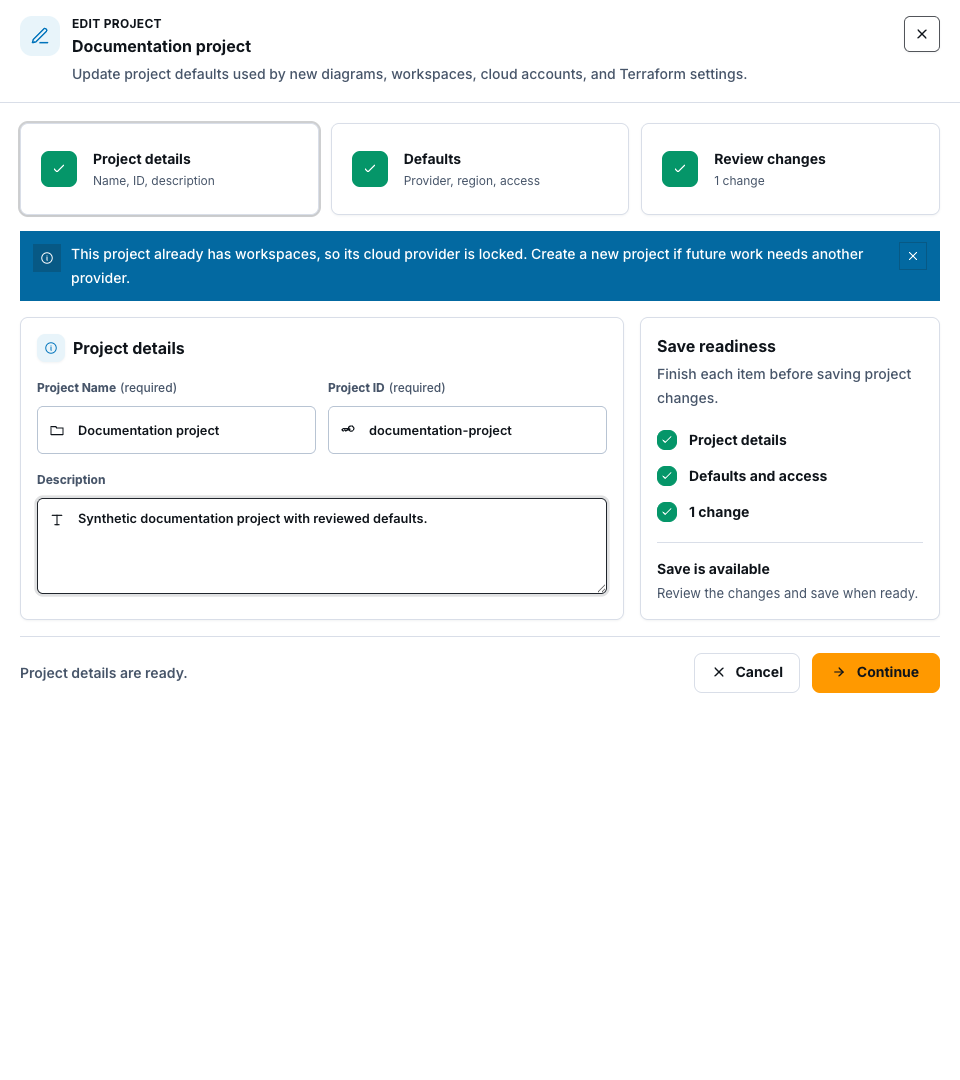
Section titled “Edit a project”- Choose Edit project.
- Review the Project details, Defaults, and Review changes steps.
- Change only the fields you intend to update.
- Choose Continue between steps and inspect the final summary.
- Choose Save changes.
- If the change is classified as high impact, review Save high-impact project changes? and confirm only when the provider, environment, region, visibility, and downstream impact are correct.
Saving creates a backend update. Some provider choices may be locked after dependent resources exist. A concurrency warning means a newer project revision must be reloaded and reviewed before retrying.
Check your result
Section titled “Check your result”Reopen View details and confirm the saved fields and latest revision match your intended change.
Delete a project
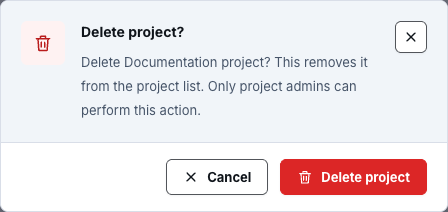
Section titled “Delete a project”- Open the row menu or details drawer and choose Delete project.
- Read Delete project? and confirm you selected the correct project.
- Verify your team’s retention and cleanup requirements.
- Choose Delete project and wait for completion.
Deletion is destructive and requires project administration permission. It removes the project from the accessible list; it is not a substitute for destroying or verifying external cloud resources.
Check your result
Section titled “Check your result”The deletion notification completes and the project no longer appears after Refresh projects.
Understand the proof boundary
Section titled “Understand the proof boundary”Project list and detail screens prove saved application state only. They do not prove that a Terraform run, deployment, cloud cleanup, or provider-side change completed.
Common blockers
Section titled “Common blockers”Create, edit, or delete is disabled
Section titled “Create, edit, or delete is disabled”You may have read-only project access. Ask a project administrator for the smallest role that supports the required action.
Open asks for a workspace
Section titled “Open asks for a workspace”Choose the workspace whose environment and destination you intended. Cancel if you cannot identify a safe choice.
A save reports a newer revision
Section titled “A save reports a newer revision”Reload the latest project state, reapply only the intended change, and review again. Do not overwrite a teammate’s update blindly.
A deleted project still appears
Section titled “A deleted project still appears”Wait for deletion to finish, then choose Refresh projects. If it remains, record the visible error and do not repeat the destructive request.